Solar Panel Mounting Made Simple: Expert Installation Steps for European Frames
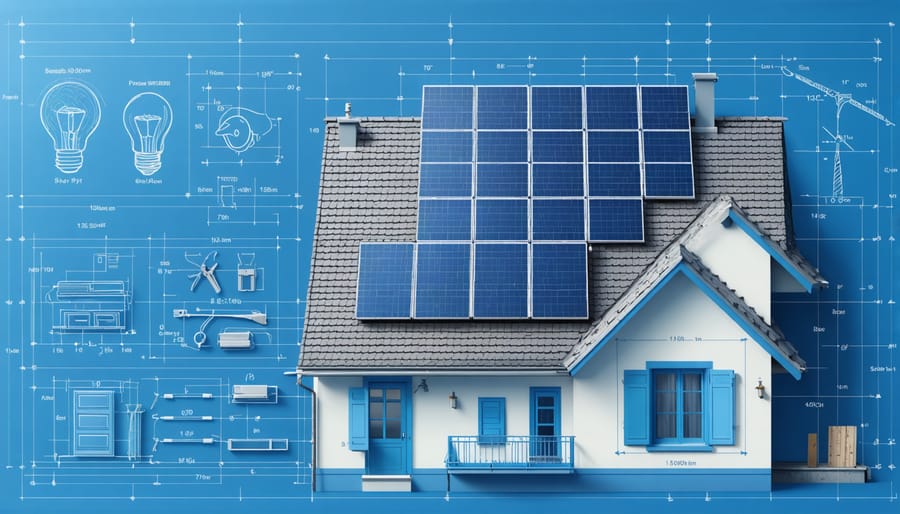
Installing solar panel mounting brackets requires precise planning and execution to ensure optimal performance and longevity of your solar energy system. Begin by conducting a thorough structural assessment of your roof, calculating load-bearing requirements, and identifying optimal mounting points that align with your roof’s support beams. Select high-quality European mounting frames that comply with EN 1090 standards and match your specific roof type—whether tile, metal, or flat surface. Professional installation demands careful attention to waterproofing techniques, precise bracket spacing, and proper torque specifications to prevent water infiltration and ensure structural integrity.
Before mounting, verify local building regulations, secure necessary permits, and conduct a detailed site survey to account for factors like wind load, snow accumulation, and shade patterns. This systematic approach guarantees a secure foundation for your solar panels while maximizing energy generation potential and meeting all safety requirements. With proper installation, these mounting systems provide decades of reliable service while maintaining your roof’s structural integrity.
Essential Tools and Materials for Mounting Installation
Required Tools Checklist
Before beginning your solar panel mounting installation, ensure you have all these essential tools at hand. Your choice of tools may vary slightly depending on your aluminum versus steel mounting options, but this comprehensive list covers most installation scenarios:
Essential Hand Tools:
– Tape measure and chalk line for accurate marking
– Electric drill with appropriate drill bits
– Socket wrench set (10-17mm)
– Torque wrench for precise tightening
– Level (both spirit and digital recommended)
– Hammer and rubber mallet
– Screwdrivers (flathead and Phillips)
Safety Equipment:
– Safety harness and roof anchors
– Non-slip safety boots
– Work gloves
– Safety glasses
– Hard hat
– High-visibility vest
Specialist Equipment:
– Roof hook gauge
– Stainless steel mounting hardware
– Cable ties and conduit
– Sealant and flashing
Keep all tools organized in a secure toolbox or belt for easy access while working at height. Remember to verify that all measuring tools are properly calibrated before starting your installation project.

Safety Equipment Requirements
Before beginning any solar panel mounting installation, ensuring you have the proper safety equipment is crucial. Start with personal protective equipment (PPE), including a sturdy safety helmet, non-slip safety boots, and protective gloves rated for construction work. Eye protection is mandatory – use safety glasses or goggles that meet European EN 166 standards.
For working at height, a fall protection system is essential. This includes a full-body safety harness compliant with EN 361, secure anchor points, and appropriate lanyards or lifelines. Ensure all height safety equipment has valid certification and inspection dates.
Keep a first aid kit readily accessible on-site, and maintain proper communication devices for emergency situations. When working with power tools, use appropriate ear protection to guard against noise exposure.
Weather protection is also vital – use sun-protective clothing and UV-rated eyewear during summer installations, and ensure proper grip equipment for wet conditions. Finally, maintain proper barricading and warning signs around the work area to protect both installers and bystanders from potential hazards.
All safety equipment should comply with current European safety standards and regulations, and be inspected before each use.
Pre-Installation Planning and Assessment
Roof Evaluation Guidelines
Before installing solar panel mounting brackets, a thorough roof evaluation is essential to ensure structural integrity and maximize system performance. Begin by inspecting the roof’s age, condition, and materials. Look for signs of damage such as cracked tiles, worn shingles, or water damage that could compromise the installation.
Assess the roof’s load-bearing capacity, considering both the existing weight and the additional load from solar panels and mounting hardware. For typical residential installations, the roof should support approximately 20-25 kg/m² of additional weight. Consulting a structural engineer is recommended for older buildings or complex installations.
Identify optimal mounting locations by analyzing sun exposure patterns throughout the year. South-facing roof sections typically offer the best performance in European locations, with minimal shading from nearby structures or vegetation. Use solar pathfinder tools to document potential shade issues.
Check the roof’s pitch angle, which ideally should be between 30-45 degrees for most European latitudes. Map out the location of structural support beams and rafters, as these will serve as anchor points for mounting brackets. Consider accessibility for installation and future maintenance when selecting mounting positions.
Document the roofing material type and installation method, as this determines the appropriate mounting hardware and waterproofing requirements. Different solutions are needed for tile, slate, metal, or membrane roofs to maintain weathertight integrity while ensuring secure attachment.
Mounting Point Calculations
Accurate mounting point calculations are crucial for ensuring the long-term stability and safety of your solar panel installation. According to European Standard EN 1991-1-4, mounting brackets should be positioned to withstand wind loads of up to 2.4 kN/m² in most residential applications.
For a typical residential installation, calculate mounting points using the following formula:
Number of mounting points = (Panel length × Panel width × Wind load factor) ÷ Maximum bracket load capacity
The standard recommendation is to place mounting brackets at 1/4 and 3/4 points along the panel’s length, maintaining a maximum spacing of 1.6 metres between brackets. For regions with higher wind exposure or snow loads, additional mounting points may be necessary, typically reducing the spacing to 1.2 metres.
When calculating roof attachment points, consider:
– Roof pitch angle (optimal range: 30-45 degrees)
– Local wind zones (as per EN 1991-1-4)
– Snow load requirements (EN 1991-1-3)
– Panel weight (typically 18-22 kg/m²)
– Safety factor of 1.5
For most residential installations, this translates to:
– 4 mounting points for panels up to 1.7m²
– 6 mounting points for panels up to 2.5m²
– Additional support points for every 0.8m² thereafter
Remember to verify these calculations with local building regulations and manufacturer specifications for your specific installation scenario.
Step-by-Step Installation Process
Marking and Measuring
Precise measurements are crucial for ensuring optimal solar panel performance and long-term stability. Begin by marking your roof’s high points using a chalk line, maintaining consistent spacing according to your panel specifications and local building regulations. Typically, European installations require bracket spacing of 1.2 to 1.6 metres, depending on your region’s wind and snow load requirements.
Using a laser level or spirit level, establish a perfectly horizontal reference line across your installation area. Mark mounting points along this line, ensuring they align with your roof’s structural supports (rafters or purlins). For slate or tile roofs, brackets should be positioned to avoid water channels and maintain proper water drainage patterns.
Measure and mark the vertical spacing between rows, accounting for your specific panel dimensions and optimal tilt angle. In most European locations, this angle typically ranges between 30-40 degrees for maximum energy yield. Create a detailed mounting plan that includes precise measurements for each bracket position, noting any obstacles such as chimneys or vents that may require adjustment.
Double-check all measurements before drilling, paying particular attention to edge distances (minimum 30cm from roof edges) and maintaining consistent spacing between mounting points. Document your measurements and bracket positions for future reference, as this information will be valuable for maintenance and potential system expansions.
Bracket Assembly
Begin by laying out all your mounting bracket components on a clean, flat surface. Ensure you have the main rail supports, L-feet or roof attachments, mid and end clamps, and all necessary hardware. Cross-reference these with your installation manual to confirm nothing is missing.
Start assembling the L-feet or roof attachments to your rail supports. Insert the M8 bolts through the pre-drilled holes in the L-feet, then through the channel of the mounting rail. Secure with lock washers and nuts, but don’t fully tighten yet – you’ll need some adjustability during roof installation.
For rail splicing, if required, align the connection points of two rail sections. Insert the splicing kit components according to manufacturer specifications, typically involving splice bars and bolts. Ensure the rails are perfectly aligned before tightening to create a seamless connection.
When preparing end clamps, insert the appropriate bolt into the channel of the mounting rail. Position the end clamp assembly at the precise location where your first and last solar panels will sit. The end clamps should be oriented correctly to grip the panel frame securely.
For mid clamps, which will secure panels between end clamps, follow a similar process but use the specific mid clamp hardware. These typically have a different profile to accommodate two adjacent panel frames. Keep these loosely assembled until panel placement.
Remember to apply anti-seize compound to all stainless steel hardware if recommended by your manufacturer. This prevents galling and ensures long-term durability of your mounting system.
Pre-assemble any additional bracket components specific to your system design, such as microinverter mounts or cable management solutions. Having these ready will streamline the roof installation process.
Double-check all preliminary assemblies against your installation manual before proceeding to roof mounting. While components should be assembled, final tightening will occur during panel installation to allow for necessary adjustments.
Securing Brackets
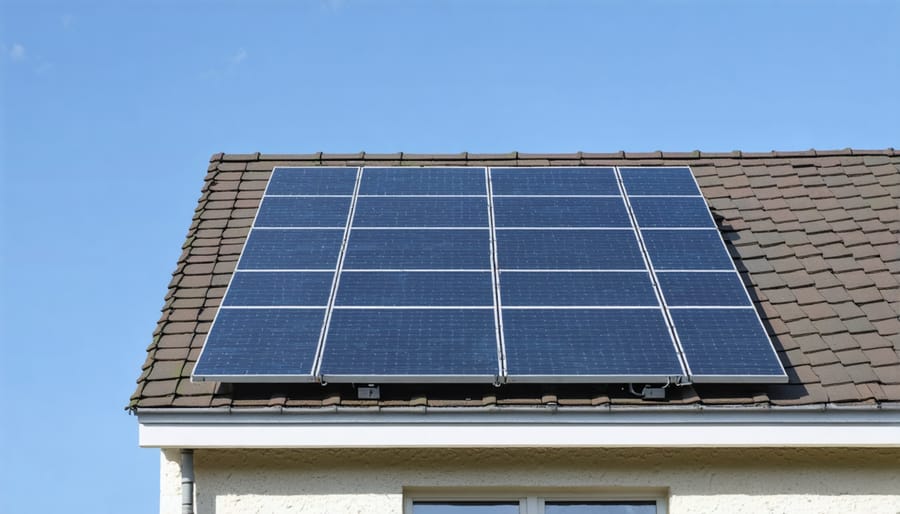
The proper securing of mounting brackets is crucial for a secure mounting installation that withstands various weather conditions. Different roof types require specific mounting techniques to ensure optimal stability and longevity of your solar system.
For tile roofs, common in European residential architecture, start by carefully lifting the tiles and positioning the mounting brackets directly onto the rafters. Use stainless steel lag bolts, minimum 8mm in diameter and 100mm in length, to anchor the brackets. Apply weatherproof sealant around each mounting point before replacing the tiles.
When working with metal roofs, install brackets using self-tapping screws with EPDM washers to prevent water infiltration. Position the brackets on the raised seams or ribs of the metal roofing, ensuring alignment with the underlying structure. For standing seam roofs, use non-penetrating clamps designed specifically for your roof profile.
Flat roof installations require a different approach. Begin by identifying structurally sound attachment points and use chemical anchors or through-bolts depending on the roof construction. Install rubber or EPDM pads beneath each mounting point to protect the roof membrane and ensure proper water drainage.
For slate roofs, exercise extra caution to avoid damaging the delicate tiles. Use slate roof hooks that slide under the tiles and attach to the rafters. These specialised brackets eliminate the need for drilling through the slate while maintaining a watertight seal.
Always follow local building regulations and manufacturer specifications for spacing between mounting points. In areas with high wind loads, additional brackets may be necessary. After installation, verify that all fasteners are properly torqued and that the brackets are level and aligned correctly. Regular inspection of mounting points ensures continued stability and prevents potential issues.
Quality Checks and Maintenance
After completing the installation, conduct a thorough quality inspection of all mounting brackets. Check that each bracket is properly aligned and securely fastened to the roof structure. Verify that all bolts are tightened to the manufacturer’s specified torque values – typically between 20-25 Nm for most residential installations. Ensure all washers and seals are correctly positioned to maintain waterproofing integrity.
Test the stability of each mounting point by applying gentle pressure in different directions. The brackets should show no movement or flexing. Inspect the roof area around each mounting point for any signs of damage or potential water entry points. Pay particular attention to the flashing and any penetration points.
Establish a regular maintenance schedule, ideally conducting inspections twice yearly – once in spring and once in autumn. During these checks, examine all mounting hardware for signs of corrosion, especially in coastal areas where salt exposure is higher. Verify that all brackets remain properly aligned and haven’t shifted due to weather conditions or thermal expansion.
Clean any debris that may have accumulated around the mounting points, as this can trap moisture and accelerate deterioration. Document all inspections and any maintenance performed, keeping records of torque settings and any parts replaced. This documentation is valuable for warranty purposes and helps track the system’s long-term performance.
If you notice any issues during maintenance checks, address them promptly to prevent potential problems from escalating. Consider having a professional inspection every 3-5 years to ensure continued compliance with European safety standards.
Installing solar panel mounting brackets is a crucial step in creating a reliable and efficient solar energy system. Proper installation ensures optimal performance, system longevity, and most importantly, safety for your property. Remember to carefully follow manufacturer guidelines, double-check all measurements, and maintain proper spacing between mounting points. Whether you’re a DIY enthusiast or working with professionals, attention to detail during the installation process will pay dividends in the long run. By adhering to European safety standards and using high-quality materials, you’re not just installing hardware – you’re investing in a sustainable energy future. Regular maintenance checks will help ensure your mounting system continues to perform effectively for years to come, protecting both your solar panels and your property investment.
Leave a Reply